
Oh, so many things I’ve learned over the years. I look back on my original brisket post and cringe a little, from the sugar in the rub, to the pooling juices on the top of the brisket, to the use of bottom of the barrel quality Select grade meat. Don’t get me wrong, those original briskets were tasty, but as I’ve said, I’ve learned a ton over time thru experience and really great YouTube content from Chuds BBQ, Mad Scientist BBQ, J. Kenji Lopez Alt, and Franklin BBQ. In watching their videos, and experimenting on my own, I’ve gotten really good at producing consistent, delicious brisket.
Let’s start with the meat. Get Choice or Prime graded whole briskets. I go to Costco’s business store and they always have a bunch to choose from. Brisket is an expensive project—Choice are going for about $3.50/lb and Prime are around $4.50/lb. In this post, I’m using a 12 lb. Choice brisket.
Trimming fat and silver skin is super important—I always took down the fat cap to 1/4 to 1/3 of an inch, but I usually skipped the silver skin trim, and (horrors) I threw the fat away in the old days. Now I trim the fat cap to about 1/3 of an inch with a super sharp flexible knife, and get all the silver skin and wedge of fat off the bottom of the brisket. Then I cube all the fat I cut off and put it in a small metal pan to render the fat for later use.


I used to overdo it on my brisket rub, and I left the meat to dry brine too long in the fridge. Now, I’m using a rub which consists of (by weight) 1 part Lawry’s seasoned salt, 1 part Diamond kosher salt, and 2 parts ground black pepper. Mix these together and season the entire brisket (top, bottom and sides) with the rub immediately prior to cooking.

Next, the BBQ setup. I used to just put a mound of coal (unlit on the bottom, lit on top) on one side of the kettle with a cherry log on top, and tin pan with water below the meat. I modified that setup with some bricks to wall in the coal side of the kettle, but the bricks took too much of the charcoal’s energy to heat up.
My new setup uses a “Slow ’N Sear” Original which is a stainless steel sleeve with a water reservoir that sits in the lower part of the Weber kettle to contain the charcoal. I load the Slow ’N Sear with charcoal, lighting only about 12 coals on one far side. Once the coal is lit, put a large piece of foil under the cooking area, and optionally, a large drip pan to collect the drippings from the brisket. Then put some 2 inch chunks of wood across the coal. The goal here is get a low and slow burning fire that will march across the coal pile over a 4-8 hour period. The fuel should last a total of 8 hours at 250 degrees but check the thermometer on the grill at 7 hours if you didn't replenish charcoal before.

Place the cooking grate in the kettle and put on your brisket. The first part of this cook is 200-225 degrees for 4 hours. Cover the kettle and open the vents until the kettle nears 200 degrees, then adjust the top vent and bottom vent almost all the way closed. Monitor the kettle temperature every 15 minutes over the next hour nudging the vents more open (or more closed) until you land on 200-225 degrees.

After 4 hours, increase the grill temperature to 250, but you may need more charcoal to last the next 4 hours (see above). I pile the lit coal back at the original starting point in the Slow N Sear, and put in some fresh coal to refill it. I also put some more chunks of wood on top of the unlit coal. Cover the grill and open your upper and lower vents until you’re approaching 250 degrees, then close off your lower and upper vents to about 1/3 open. Again, monitor the kettle temperature every 15 minutes over the next hour nudging the vents more open (or more closed) until you land on 250 degrees.


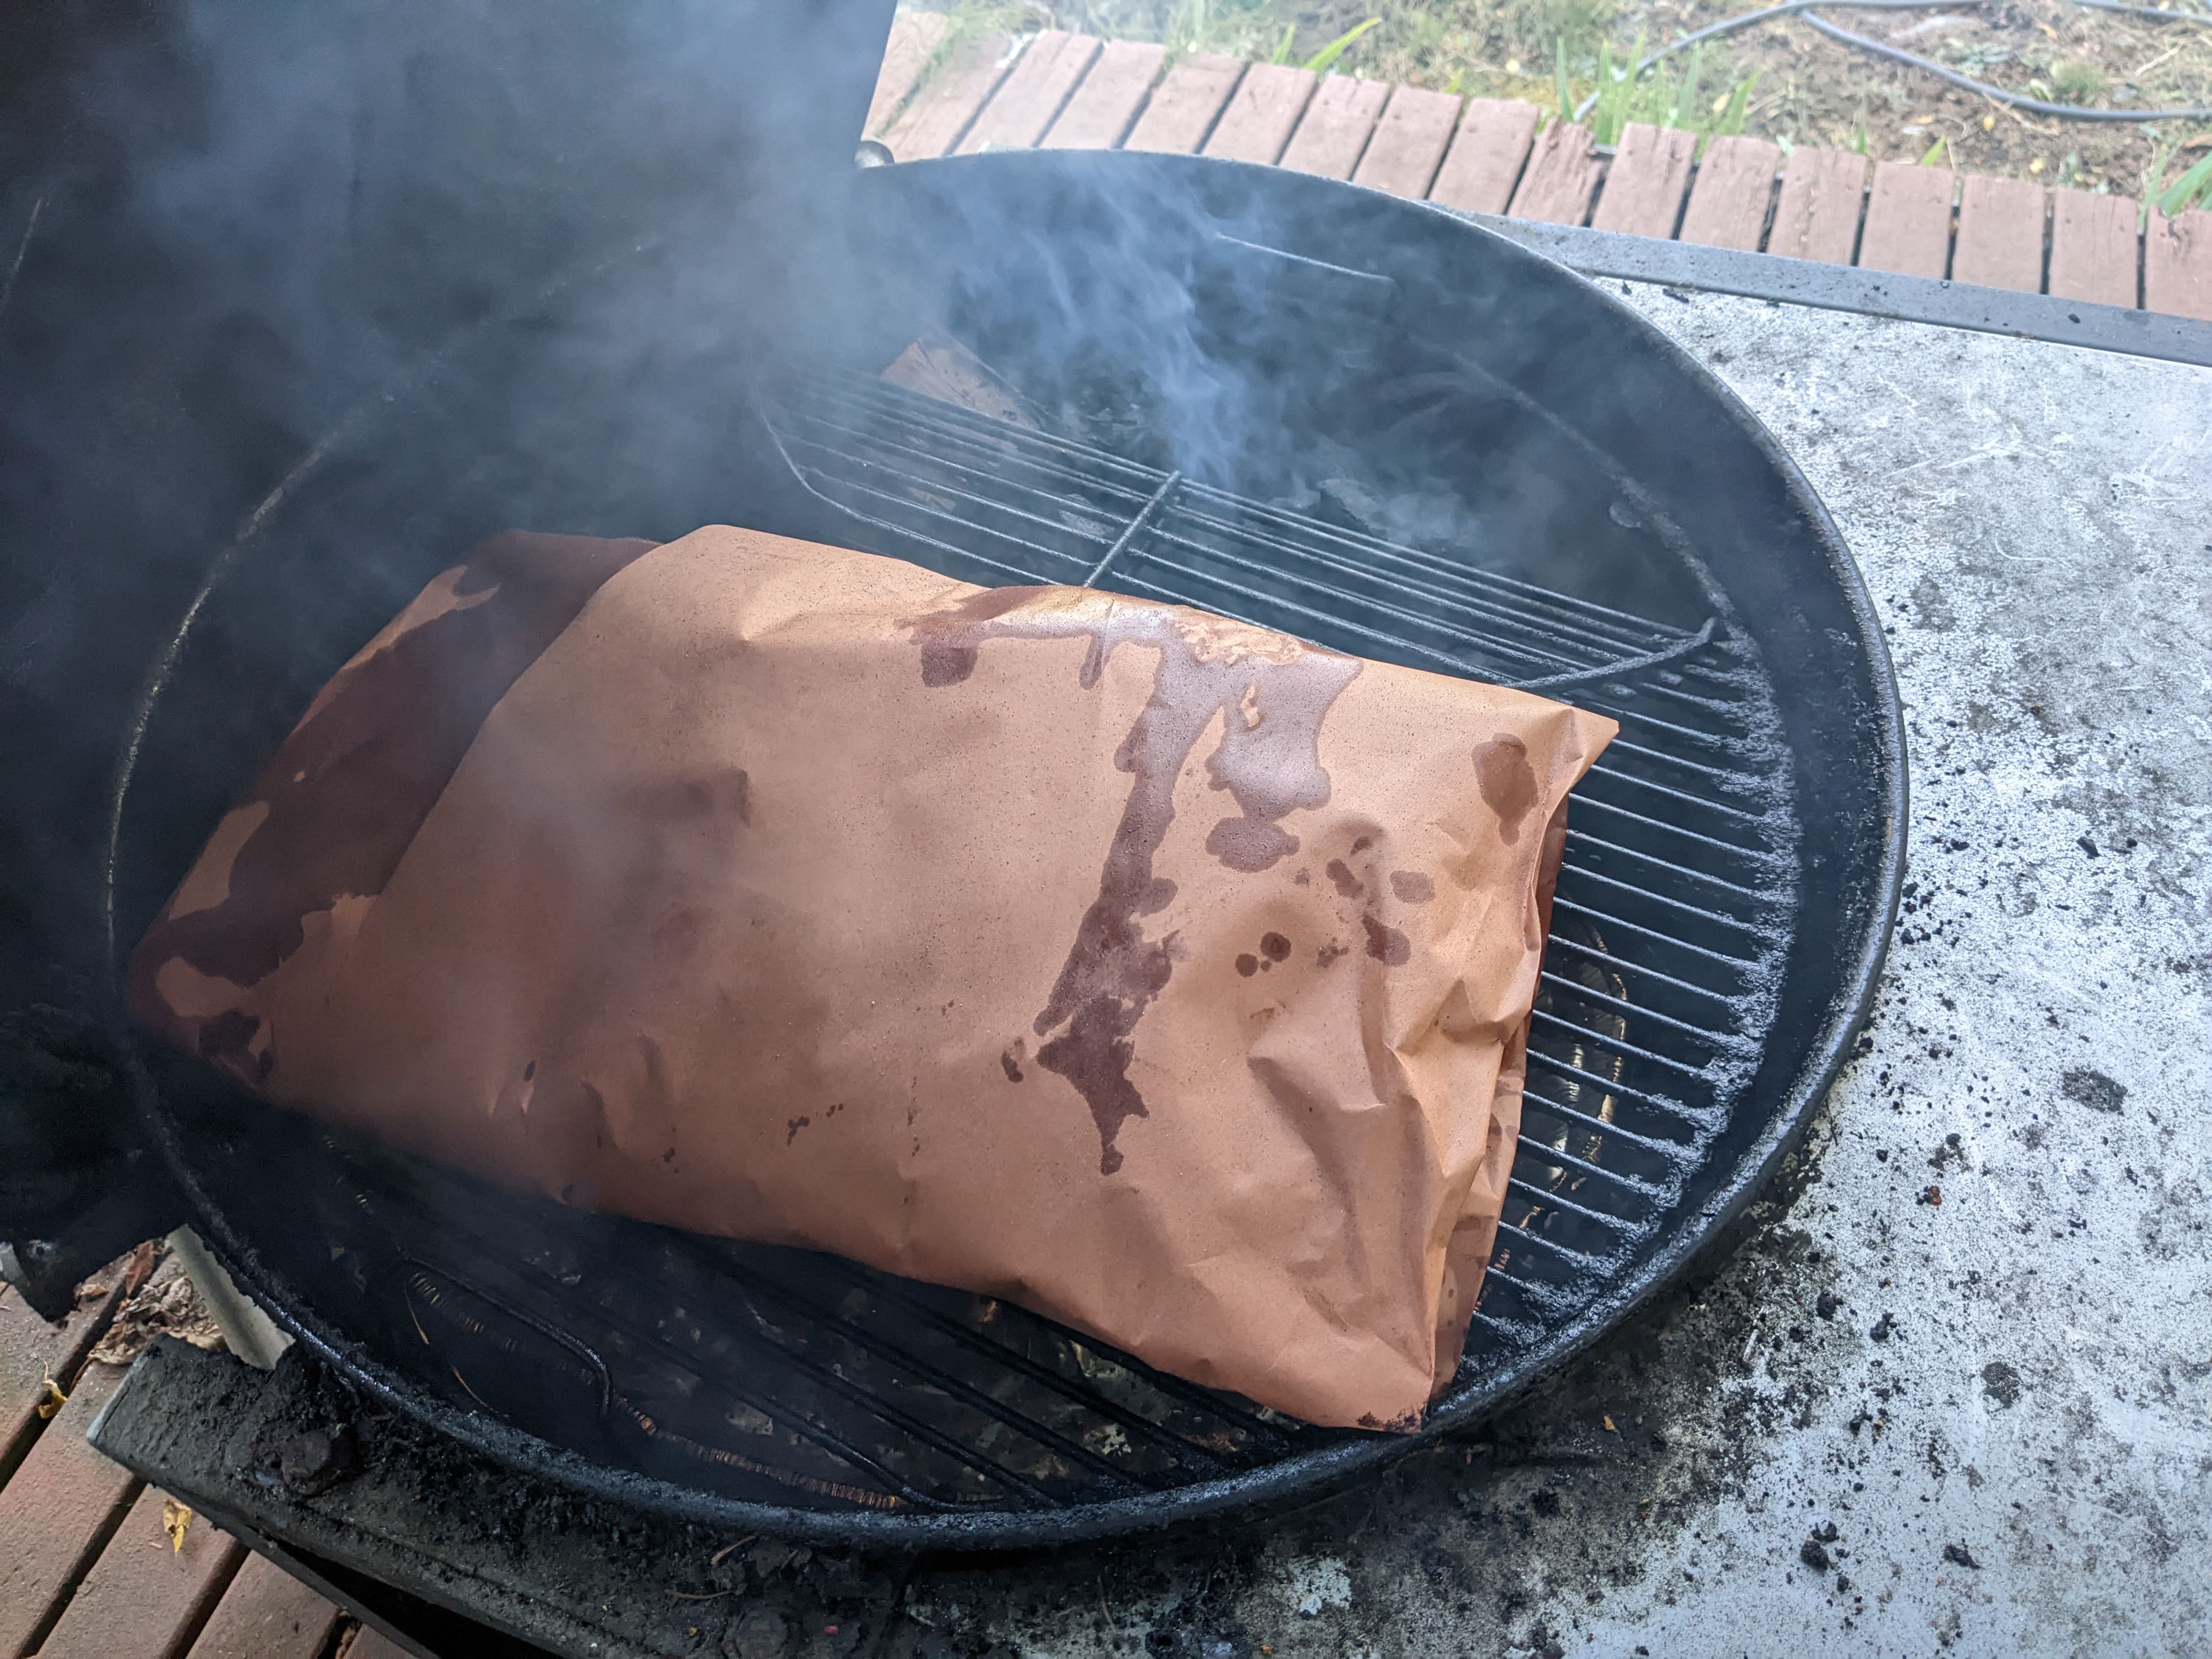
After the second 4 hours (8 hours total), the brisket will be firmly in ‘the stall’ where its internal temp is stuck at 165 degrees or so. It’s now time to wrap the brisket in butcher paper for the the last four hours in the kettle. Lets talk about wrapping the brisket. Cut two sheets of 18 inch wide butcher paper about 4 feet long, and overlap them by 1/3 on a flat surface. Pour some of the rendered brisket fat onto the butcher paper, and place the brisket on the fat, leaving at least a foot of the paper to fold the paper over the top of the brisket. Pour the remaining rendered fat over the brisket, then fold the sides of the butcher paper up over the edges of the brisket. Then roll the brisket over twice to become fully and tightly encased in the butcher paper. After wrapping you can continue cooking at 250 in the kettle for 4 hours, or transfer the wrapped brisket to a hotel pan and put it in a 250 degree oven for the next 4 hours.


Ok so the brisket is done now, right? Nope. 12 hours in, and yes, you could eat the brisket now, but you shouldn’t. If you want a perfect brisket, it’s time to rest the meat at 140 degrees for 12 hours. I use a warming drawer that I’ve calibrated with a meat thermometer to 140 degrees. Home ovens generally don’t run constantly as low as 140, so I wouldn’t recommend the rest in an oven. Some people swear by putting the brisket in an insulated cooler wrapped in towels, but I’ve never tried this—it seems a little dicey without a constant heat source or temperature monitoring. Some people have large toaster ovens that can to as low as 140. However you can though, figure out a way to let the brisket rest after cooking. The flavor will permeate the meat in a way that just doesn’t happen over the 12 hour cooking period on its own.


After the rest, it’s finally time to eat this thing. Slicing is really easy. Cut open the top of the butcher paper and lift the brisket onto a cutting board. The skinny side is the Flat, and the fat side is the Point. Cut the brisket in half, separating the Flat from the Point. On the Flat, continue cutting slices in the same direction until done. Now for the Point. Turn the Point 1/4 turn and slice in half. Continue slicing the point until you get to about an inch from the edge—this edge is the burnt ends—the holy grail of brisket cooking. The tastiest, choicest, most delicious thing on that whole piece of meat. Take that whole burnt end, and cut off 1 inch pieces for the special people in your life to enjoy. Repeat with the other side of the Point.
For serving, I usually preheat a half hotel pan and load it up with the cut brisket as I work. Slice up the entire Flat, and load it into the pan. Slice up half the Point, and into the pan. Repeat with the other half Point. Burnt ends don’t often make it into the pan. Serve it up. Folks are hungry!
Or not. Sometimes I take that sliced Flat and the those sliced half Points and load them into vacuum food sealer bags. Fold the bags closed and chill immediately, then vacuum seal. Reheat with a sous vide circulator set to 150 degrees for one hour. Good eating.
A note on the cook. Instead of a 4-4-4 hour cook, sometimes I do a 6-6 hour cook. That’s 6 hours at 250 degrees on the smoker/BBQ, then wrap and cook an additional 6 hours either on the BBQ or in the oven. You really can cook in the oven for the final six hours for the consistency of the heat—smoke is irrelevant at this point if the meat is wrapped. Then, DON’T SKIP THE REST PERIOD.
And I feel truly blessed we were able to be amongst your first taste testers of this most recent iteration of your incredible BBQ!
ReplyDeleteAlways happy to have you!
Delete